While Windows Defender does protect your system against viruses and malware attacks, it even blocks the unregistered third-party applications that are entirely safe.
I’ve faced this problem multiple times where Windows Defender wouldn’t let me install an app as the antivirus would delete the app files automatically. I could only continue the installation after turning off the Windows Defender antivirus.
You can temporarily disable Windows Defender in Windows Security or by editing the Registry . But if you wish to turn it off permanently, you’ll need to install a non-Microsoft antivirus on your system.
Note: Turning off Windows Defender will expose your computer to virus and malware attacks, so use the following methods at your own discretion.
From Windows Settings
The most straightforward way to disable Windows Defender is from the Virus & Threat Protection option in Windows Security.
- Press Windows + I shortcut keys to open Settings.
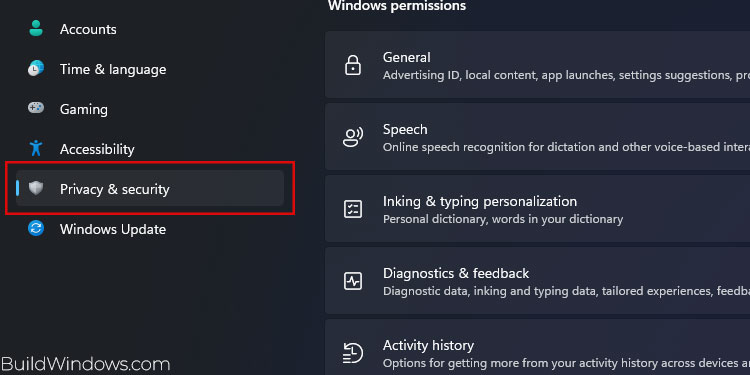
- Switch to the Privacy & Security tab.

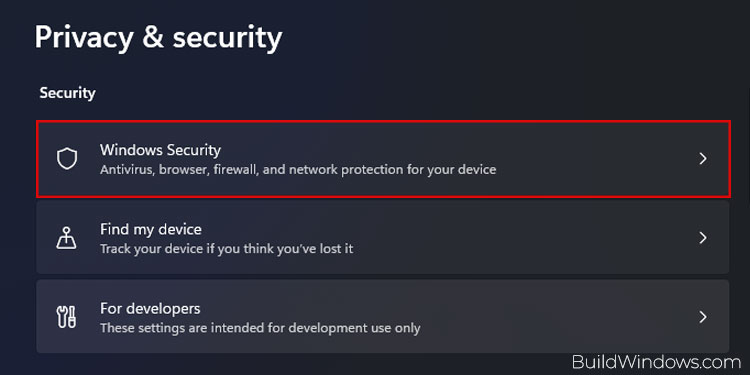
- Open Windows Security.
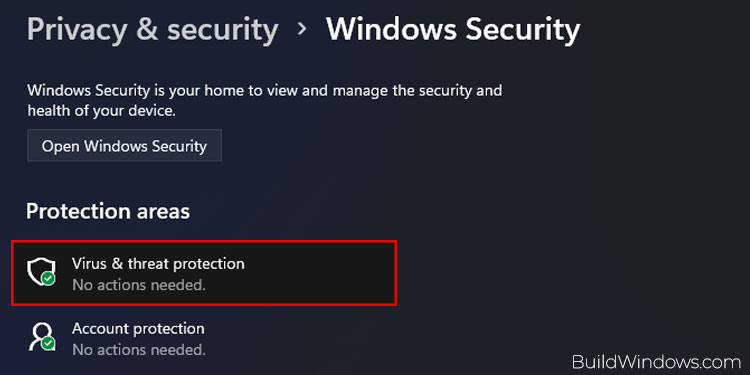
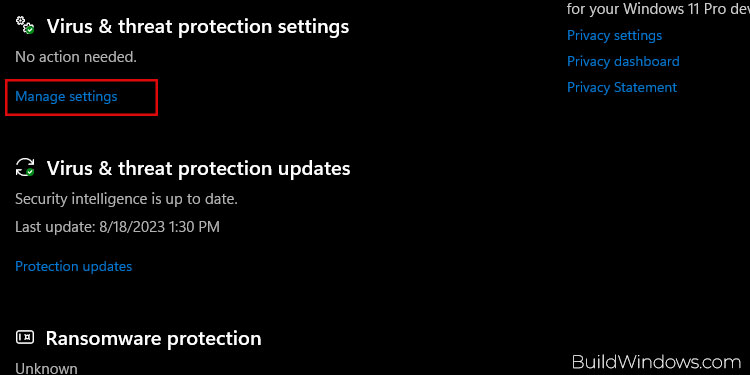
- Now, click on Virus & Threat Protection.
- Click on the Manage settings highlighted text below the Virus & threat protection settings section.
- Toggle off Real-time protection.
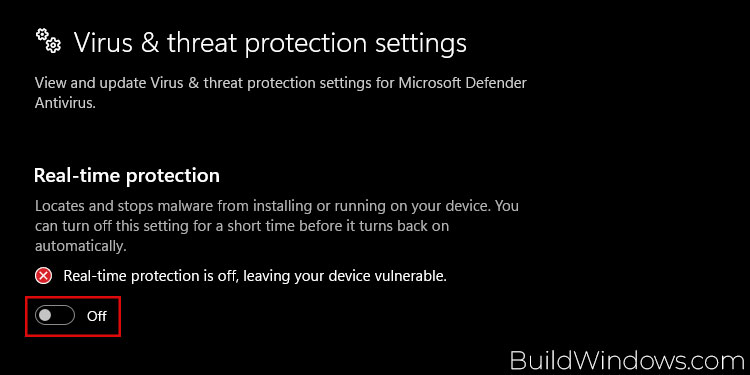
Note: This method is only a temporary fix, as Windows Defender will enable itself automatically after a while or after a reboot.
Via Registry Editor
Another viable way to turn off Windows Defender is by adding a new entry in the Registry Editor. When I tested this method, I found that it would disable Windows Defender entirely instead of just turning it off.
But there were times where windows would automatically revert the changes made in the Registry. So, it is safe to say that this method is also best used to turn off Windows Defender temporarily.
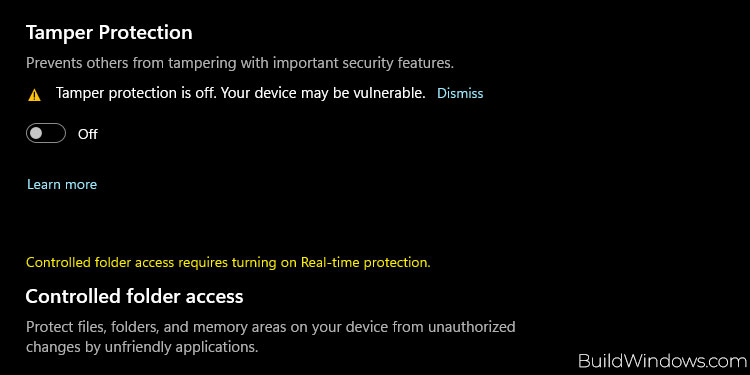
Before we begin, you’ll need to disable Tamper Protection as it will prevent changes in the Windows Defender. To do so,
- Click the Up arrow icon on the taskbar to open the System Tray.
- Click on the Windows Defender icon.
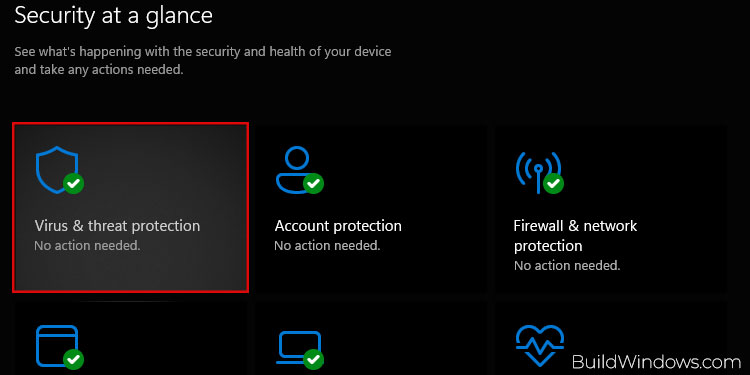
- Open Virus & threat protection.
- Click the Manage setting below the Virus & threat protection settings section.
- Toggle off Tamper protection.

Now that we’ve turned off Tamper protection, let’s add a new Value in the Registry editor.
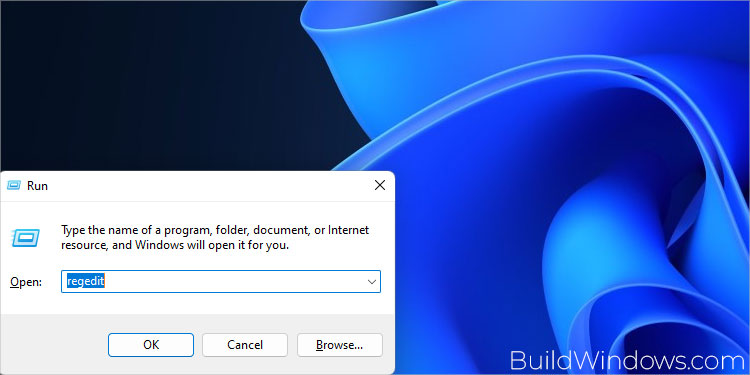
- Open the Run command by pressing the Windows + R shortcut keys.
- Type in
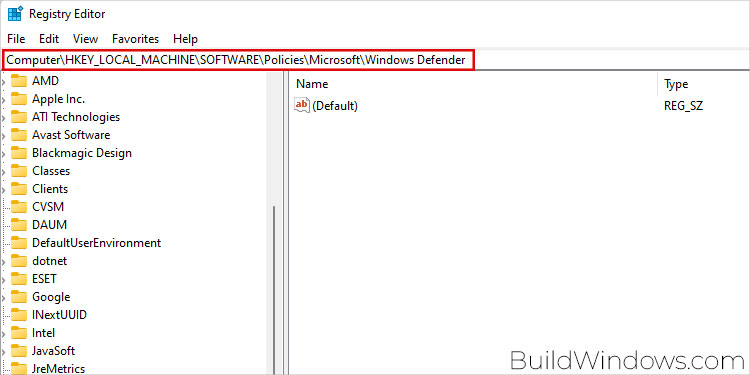
regeditand press Enter. Click Yes on the given prompt. - Paste the following address on the address bar and press Enter.
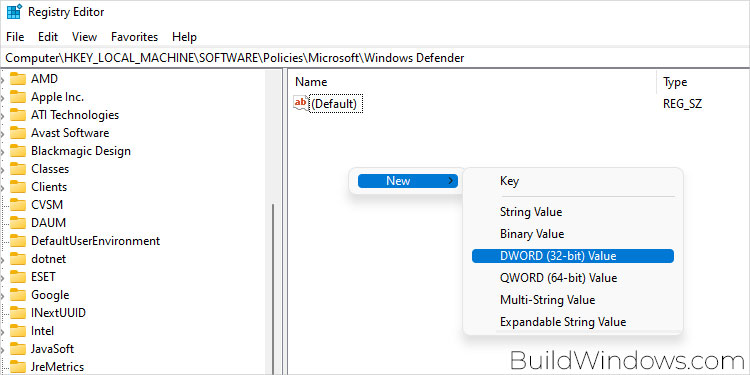
Computer\HKEY_LOCAL_MACHINE\SOFTWARE\Policies\Microsoft\Windows Defender - Right-click on the blank area to your right. Hover on new and then select DWORD (32-bit) Value.
- Give the file name DisableAntiSpyware.
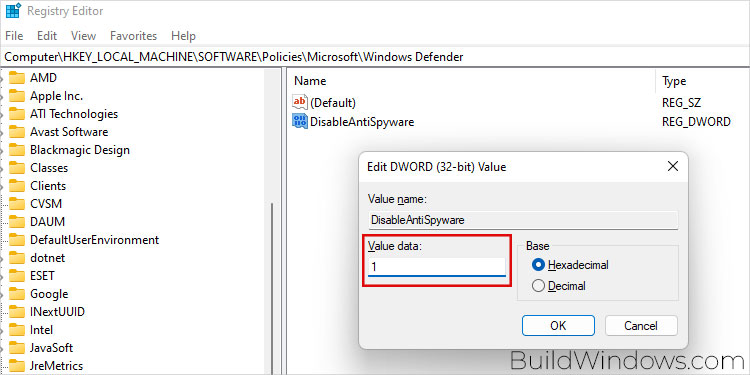
- Double-click the file we created and type 1 on the Value data field.
- Hit Okay.

Using an Antivirus Software
If you want to disable Windows Defender permanently, you’ll need to install a non-Microsoft antivirus on your system. I know this method might seem a bit unusual, but we’re fighting fire with fire.
I’ve found this method works the best because when you install another antivirus software on your system, Windows will automatically set it as the active virus protection software and disable Windows Defender permanently.
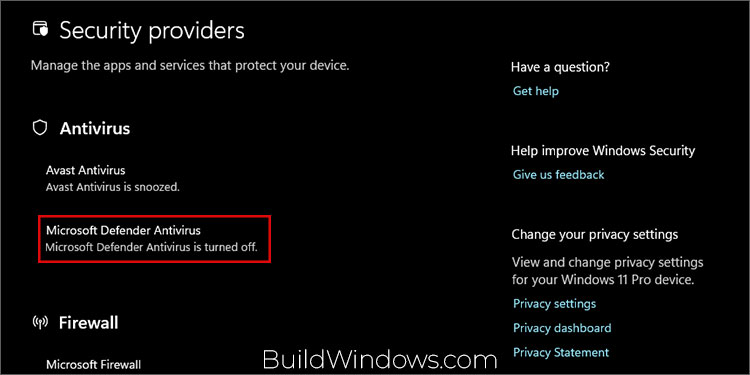
You can only enable Windows Defender again by removing the second antivirus software.
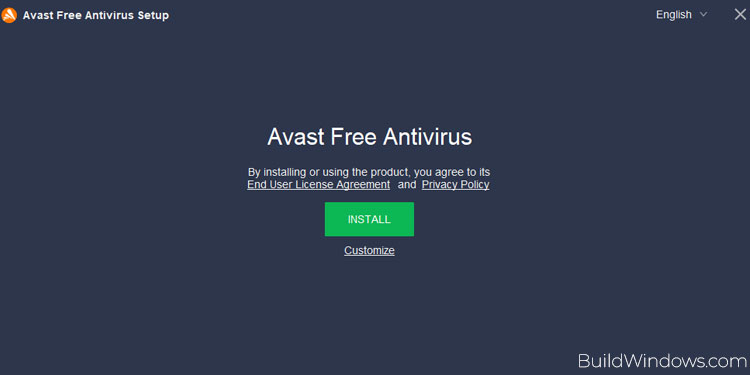
There are numerous antivirus software available in the market that you can choose from, but for showing you the process of installing an antivirus, i have chosen Avast,
- On the web browser, visit Avast Antivirus.
- Click the Free download button to download the setup file.
- Next, run the exe file to install Avast.
- After completing the installation, restart your computer to apply the changes.