
If you are concerned about your data privacy, then password protecting your folders is your best bet. Unfortunately, Windows 11 does not have a built-in feature to password-protect folders. Instead, you can encrypt a folder to prevent it from being accessed or shared by other user accounts.
However, if you want to protect a folder from being opened entirely, then you’ll have to rely on using third-party applications. I’ve gone through and tried a variety of applications and have listed a few that did the job well.
Warning: Before installing any third-party app, please be aware of potential risks. These apps are not verified by official sources and could harm your device or compromise your data’s security.
Encrypting Folders
Now, while encrypting a folder doesn’t lock the folder itself, it does prevent other users from opening and sharing the files inside it. This method is best used to protect the contents of a folder from other user accounts on the same system.
However, you should note that users can still view the file names/type and delete the files inside the encrypted folder.
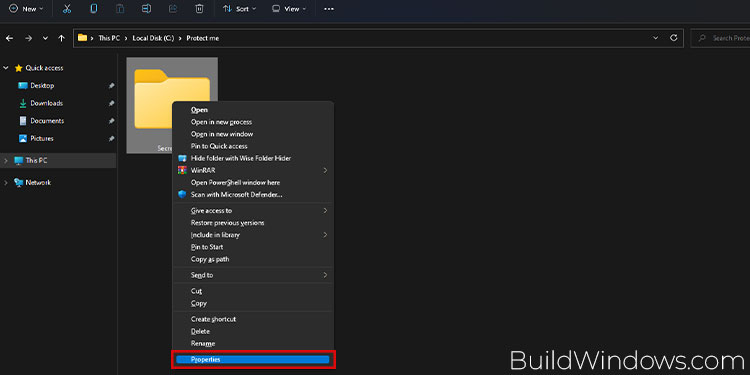
- Select the folder and press the Shift + F10 shortcut keys to open the extended context menu. You can even right click on the folder and click on show more options.
- Press R or click on Properties.

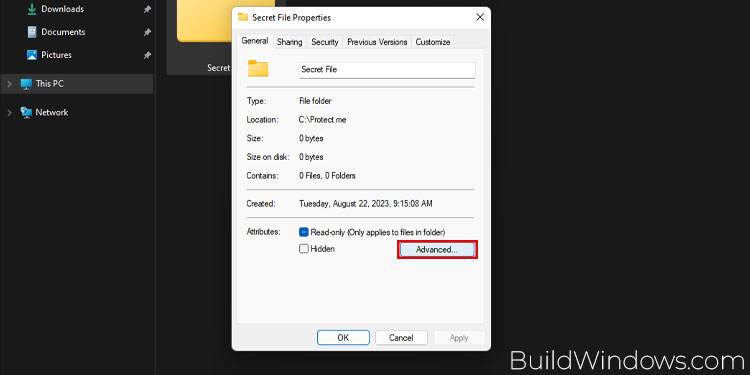
- Open Advanced.
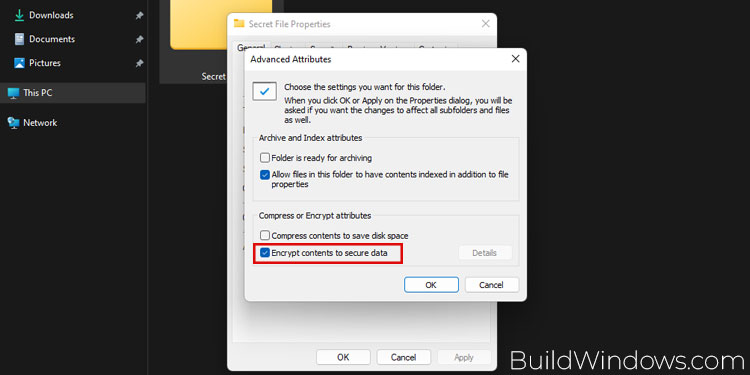
- Tick the Encrypt contents to secure data checkbox and hit OK.
- Click on Apply and then the OK button.
- Select the Apply changes to this folder, subfolders, and files option on the given popup and hit Ok.
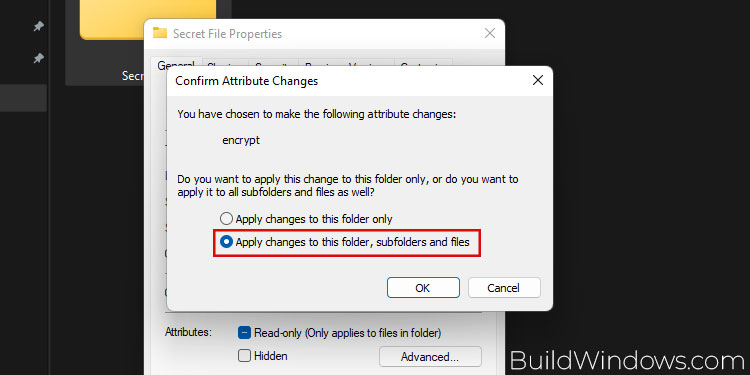
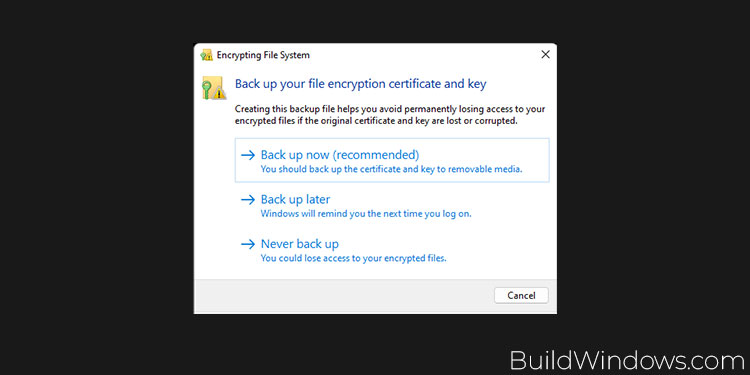
After encrypting the folder for the first time, you’ll also get a pop-up notifying you about backing up your encryption key. Make sure to go through the back up process and export the key on a secure location.
Note: For this method to work, you’ll also need the Pro version of Windows 11.
Via Wise Folder Hider
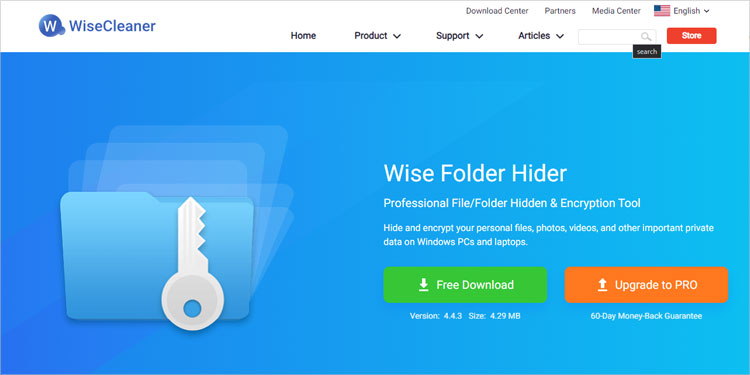
Believe it or not, the only quick and easy way to password-protect a folder is via the help of a third-party application. I have used the Wise Folder Locker as it is easy to use and offers a basic level of protection without any subscription.
- Download Wise Folder Hider and install the application. In some cases, windows defender might not let you run or install the app. For that, disable Windows Defender first.
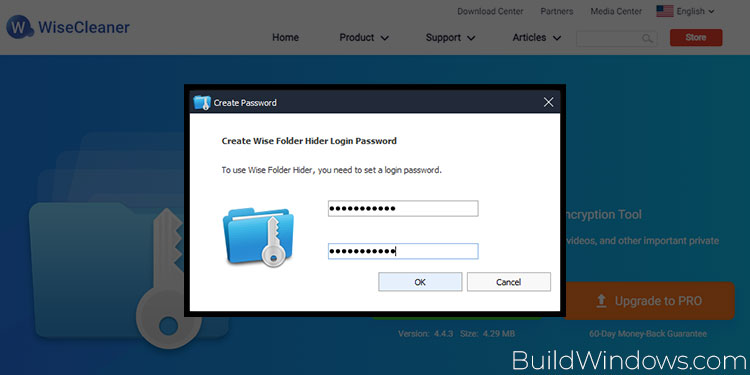
- Launch the app. Since this is your first time running the application, you’ll have to create a master password.
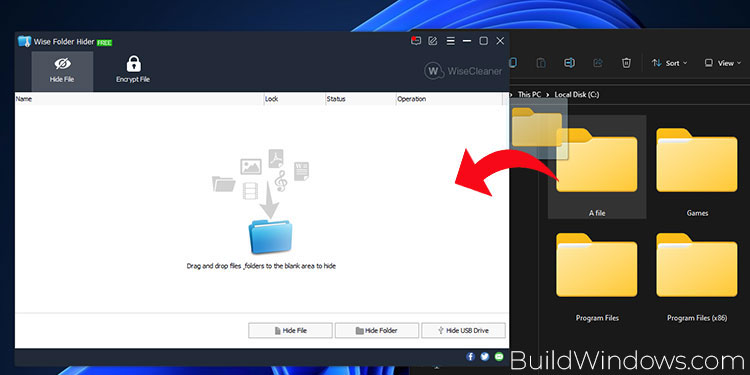
- Now, drag the folder you wish to protect onto the Wise Folder Hider window. This will hide the folder from Windows Explorer.
You can only access your protected folders by launching Wise Folder Locker and entering the master password.
Now, this step is entirely optional, but you can also add another layer of protection by applying a second password for folders inside the Wise Folder Locker. For that,
- Launch Wise Folder Locker.
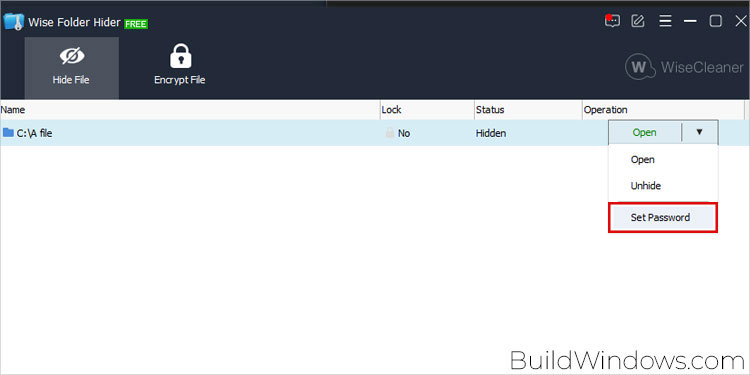
- Click the Dropdown menu beside a folder and select Set Password.
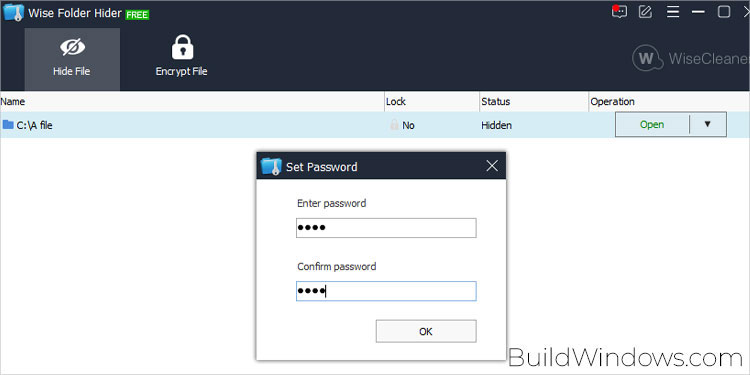
- Create a password for that folder and hit OK. The next time you want to access the folder’s contents, you’ll need to enter the second password as well.
On top of having a second layer of protection, the best feature of this third-party application is that unauthorized users cannot uninstall the application to access the protected contents.
You’ll have to unlock and remove all the folders from Wise Folder Locker to delete the application.
Via File Archiver – WinRAR
Another viable way to password-protect your folders is by using File Archiver tools. Here, we will convert the folder into a RAR file and create a password for access.
For now, we will be using WinRAR, so ensure that you download and install the application on your system.
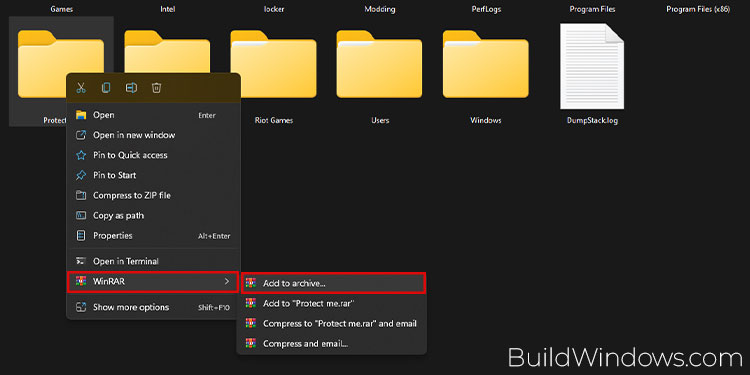
- Right-click on the folder that you wish to protect.
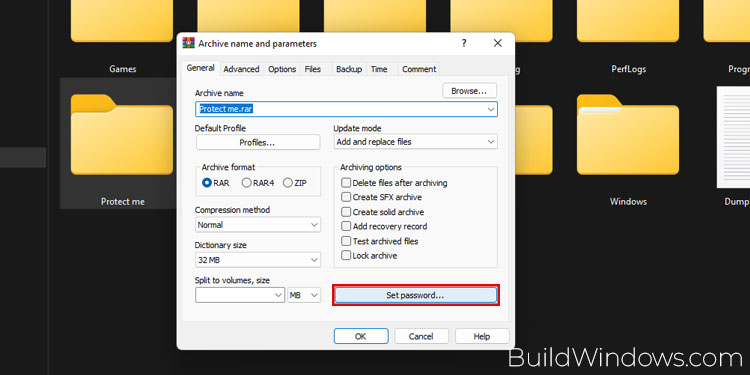
- Hover on WinRAR and select the Add to Archive option.
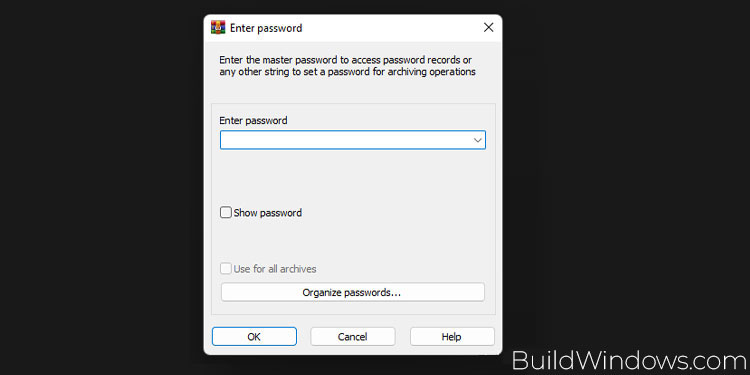
- Click on the Set Password button.
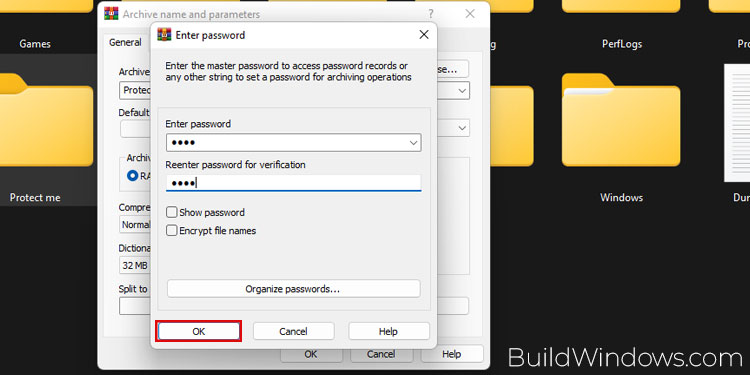
- Create a password for the file and hit Ok.
Note: This method is best used to protect relatively lower-sized folders.