
While Windows 10 uses the Segoe UI font as its default font, Windows 11 uses the Segoe UI Variable. So, if you’re bored of looking at these default fonts and want to personalize things, you can change it to whatever font you like.
While Windows 11 doesn’t allow you to normally change the system default font, you can edit your Registry to do so. This is a slightly complicated procedure, but I’ll show you an easier method in which you create a .REG file that automatically edits your Registry and changes your font.
Now, let’s discuss the whole process step by step,
Step 1: Choose a Font
The first thing that you need is the full name of the font you want to set as your system default font. Also make sure that the font you want to change to is already installed on your computer.
If the font is pre-installed, here’s how you can check its full name:
- Press Windows + I to open Settings.
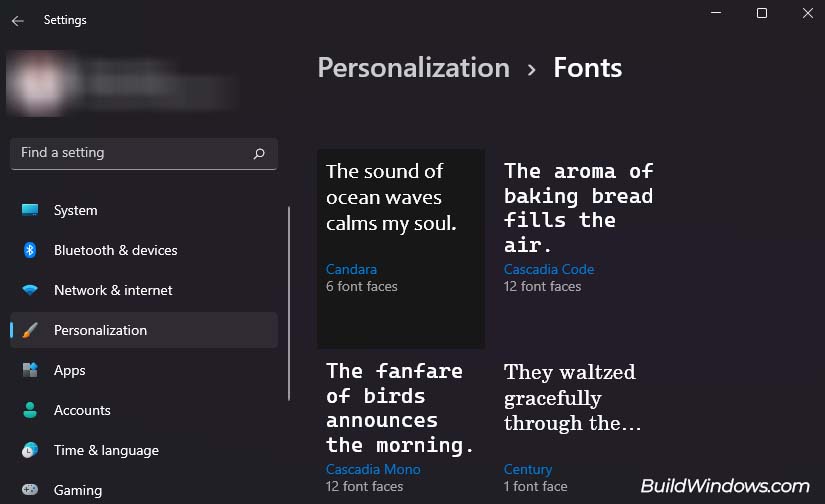
- Go to Personalization > Fonts.
- Click on the Font you want to apply.

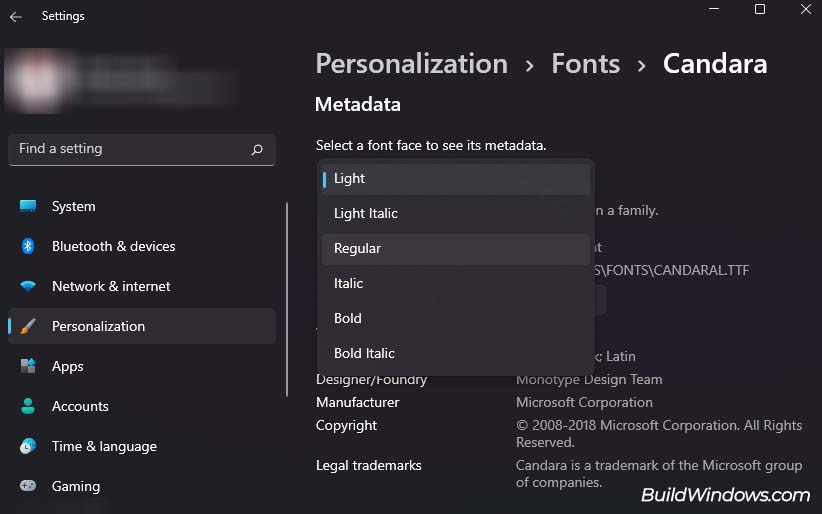
- Under Select a font face to see its metadata, pick a font face which you want to apply.

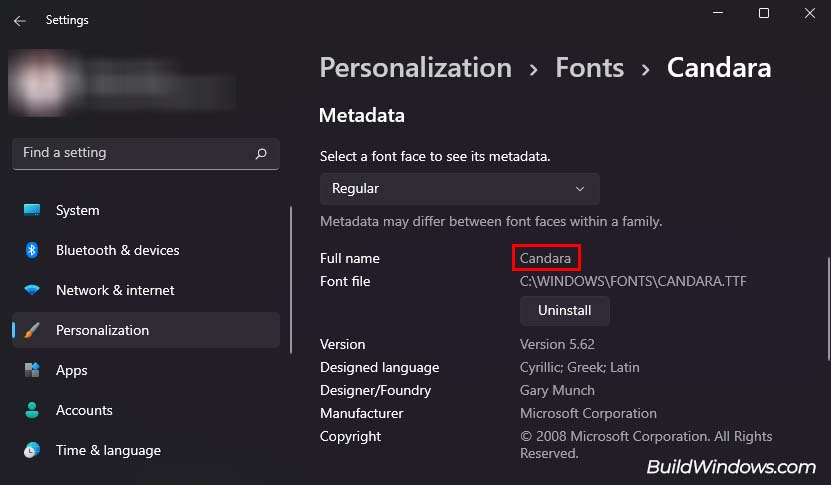
- Note down its full name beside Full name.

- Close Settings.
If the font you want is not already available on Windows, you will have to manually download it first. You can download custom fonts from a trusted website of your choice. If you don’t know where to start, you can head to Google Fonts to download custom fonts.
After downloading the font, it will usually be in a zipped file. Right-click the file, select Extract all, and click on Extract to unzip the file. Now, you can double-click on the extracted .ttf files and select Install to add the font and font faces to your system.
Step 2: Create a .REG File
The next step is to create a .REG file to automatically change some Registry entries. While you can manually edit your Registry to change fonts, it will be much more complicated as you’ll have to individually change multiple registry entries. So, I’ll be showing you a much easier method.
- Click on the Start menu and select All apps.
- Scroll down and click on Notepad to open it.
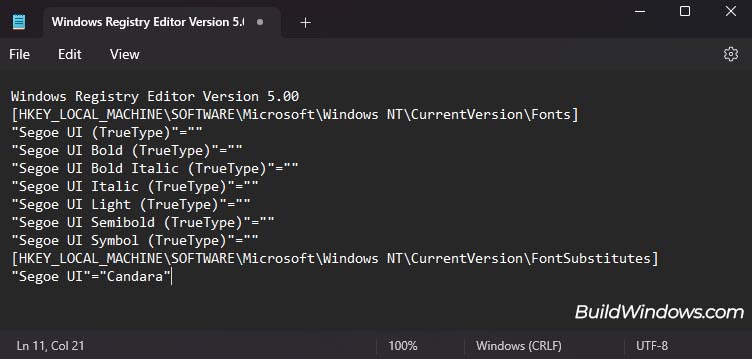
- Copy (Ctrl + C) the following code and paste (Ctrl + V) it in Notepad.
Windows Registry Editor Version 5.00
[HKEY_LOCAL_MACHINE\SOFTWARE\Microsoft\Windows NT\CurrentVersion\Fonts]
"Segoe UI (TrueType)"=""
"Segoe UI Bold (TrueType)"=""
"Segoe UI Bold Italic (TrueType)"=""
"Segoe UI Italic (TrueType)"=""
"Segoe UI Light (TrueType)"=""
"Segoe UI Semibold (TrueType)"=""
"Segoe UI Symbol (TrueType)"=""
[HKEY_LOCAL_MACHINE\SOFTWARE\Microsoft\Windows NT\CurrentVersion\FontSubstitutes]
"Segoe UI"="FontName"
- In Notepad, change FontName to the name of the font you previously noted down.
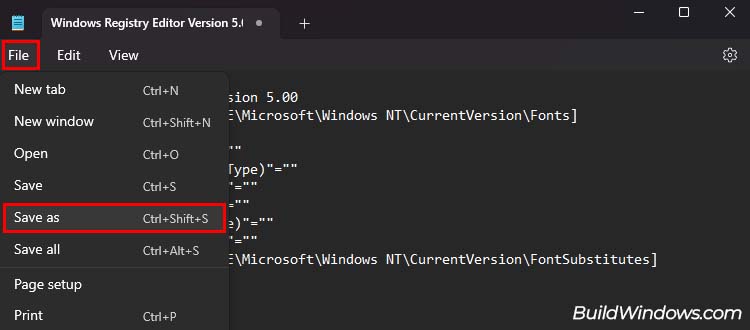
- Click on File > Save as.

- Navigate to a location where you can save the file.
- Besides File name, type
ChangeFont.regto name the text file and hit Save. (You can name the file anything but make sure to keep the.regextension.)

Step 3: Merge The .REG File
Now, you can merge the contents of your .Reg file with your registry to change the default font of your system. Here’s how you can do so:
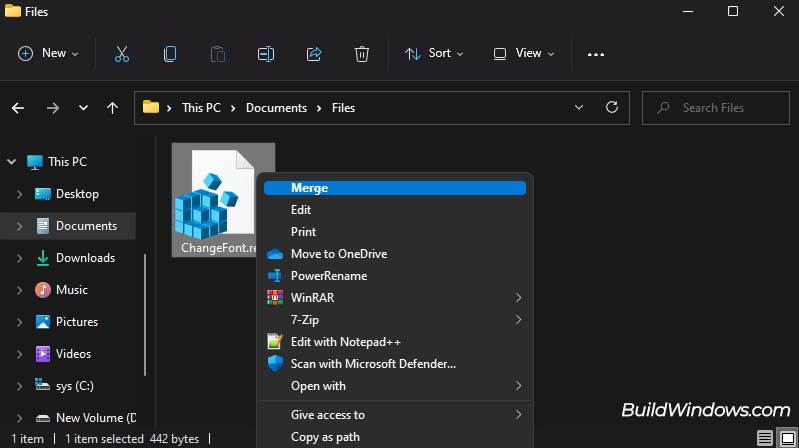
- Right-click the recently created .REG file.
- Click on Merge. (On Windows 11, select Show more options first and click on Merge.)

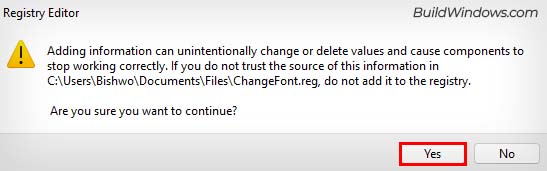
- Select Yes on the pop-up box.
- Click Yes again on the dialog box and click OK.

- Restart your computer to see the changes.
How to Restore Your System Default Font?
If you want the system default font back on your computer, you will need to edit your Registry again. So, I’ll show you how to create a .REG file that automatically changes your system font back to default.
- Open the Notepad app.
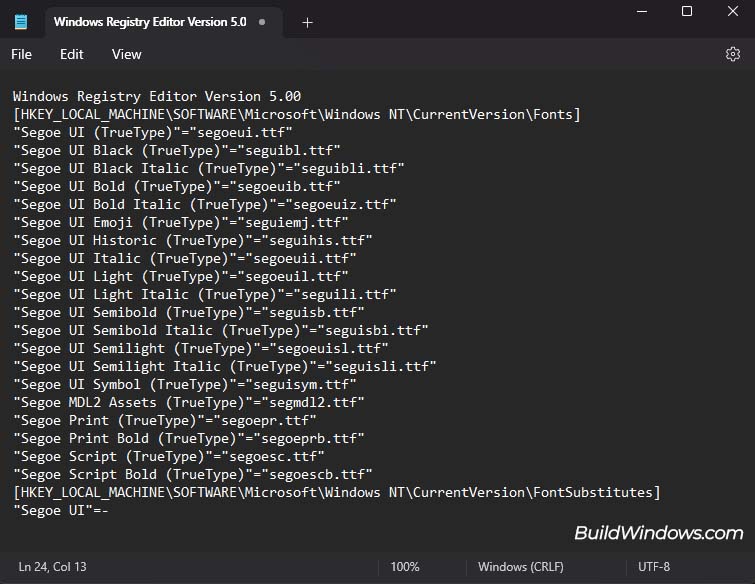
- Copy (Ctrl + C) the following code and paste (Ctrl + V) it in Notepad.
Windows Registry Editor Version 5.00
[HKEY_LOCAL_MACHINE\SOFTWARE\Microsoft\Windows NT\CurrentVersion\Fonts]
"Segoe UI (TrueType)"="segoeui.ttf"
"Segoe UI Black (TrueType)"="seguibl.ttf"
"Segoe UI Black Italic (TrueType)"="seguibli.ttf"
"Segoe UI Bold (TrueType)"="segoeuib.ttf"
"Segoe UI Bold Italic (TrueType)"="segoeuiz.ttf"
"Segoe UI Emoji (TrueType)"="seguiemj.ttf"
"Segoe UI Historic (TrueType)"="seguihis.ttf"
"Segoe UI Italic (TrueType)"="segoeuii.ttf"
"Segoe UI Light (TrueType)"="segoeuil.ttf"
"Segoe UI Light Italic (TrueType)"="seguili.ttf"
"Segoe UI Semibold (TrueType)"="seguisb.ttf"
"Segoe UI Semibold Italic (TrueType)"="seguisbi.ttf"
"Segoe UI Semilight (TrueType)"="segoeuisl.ttf"
"Segoe UI Semilight Italic (TrueType)"="seguisli.ttf"
"Segoe UI Symbol (TrueType)"="seguisym.ttf"
"Segoe MDL2 Assets (TrueType)"="segmdl2.ttf"
"Segoe Print (TrueType)"="segoepr.ttf"
"Segoe Print Bold (TrueType)"="segoeprb.ttf"
"Segoe Script (TrueType)"="segoesc.ttf"
"Segoe Script Bold (TrueType)"="segoescb.ttf"
[HKEY_LOCAL_MACHINE\SOFTWARE\Microsoft\Windows NT\CurrentVersion\FontSubstitutes]
"Segoe UI"=-
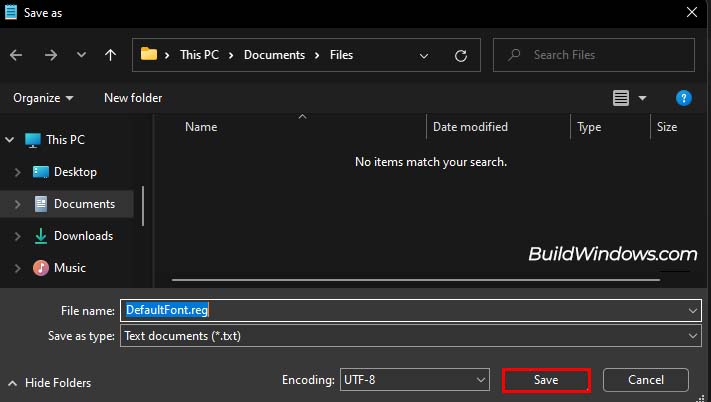
- Click on File > Save as.
- Navigate to a location where you can save the file.
- Besides File name, type
DefaultFont.regto name the text file and click on Save. (Name the file anything, just make sure to save the file with.regextension.)
- Merge the DefaultFont.reg file into your Registry using the above (Step 3) method.
In this guide, we’ve explored how to change the default system font on Windows 11. Additionally, you can also change fonts within individual apps to further customize your experience.
For those Digital Artisans, we also have detailed guides to change the windows to dark mode and change the default icons to your own liking.