
Working with multiple windows is essential in today’s digital workspace.
Windows 11 transforms this experience with Snap Layouts for intuitive screen organization.
Whether you need simple side-by-side comparisons or quad-window layouts, this practical guide will help you master every split-screen technique for peak productivity.
Enabling Split Screen
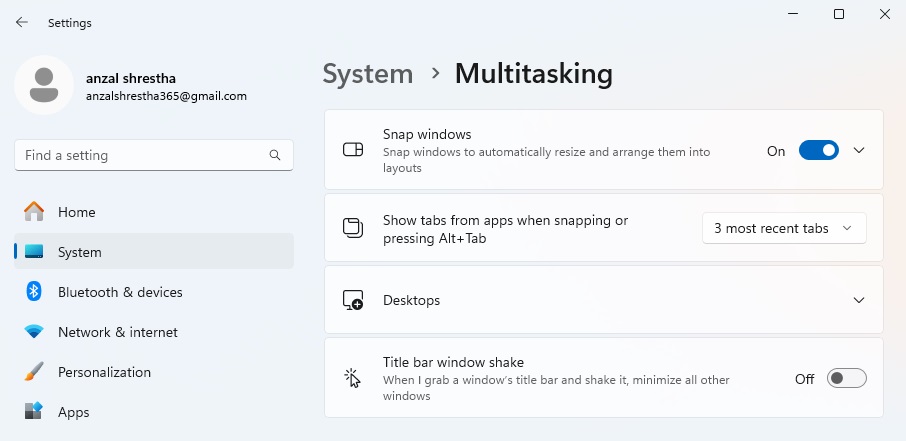
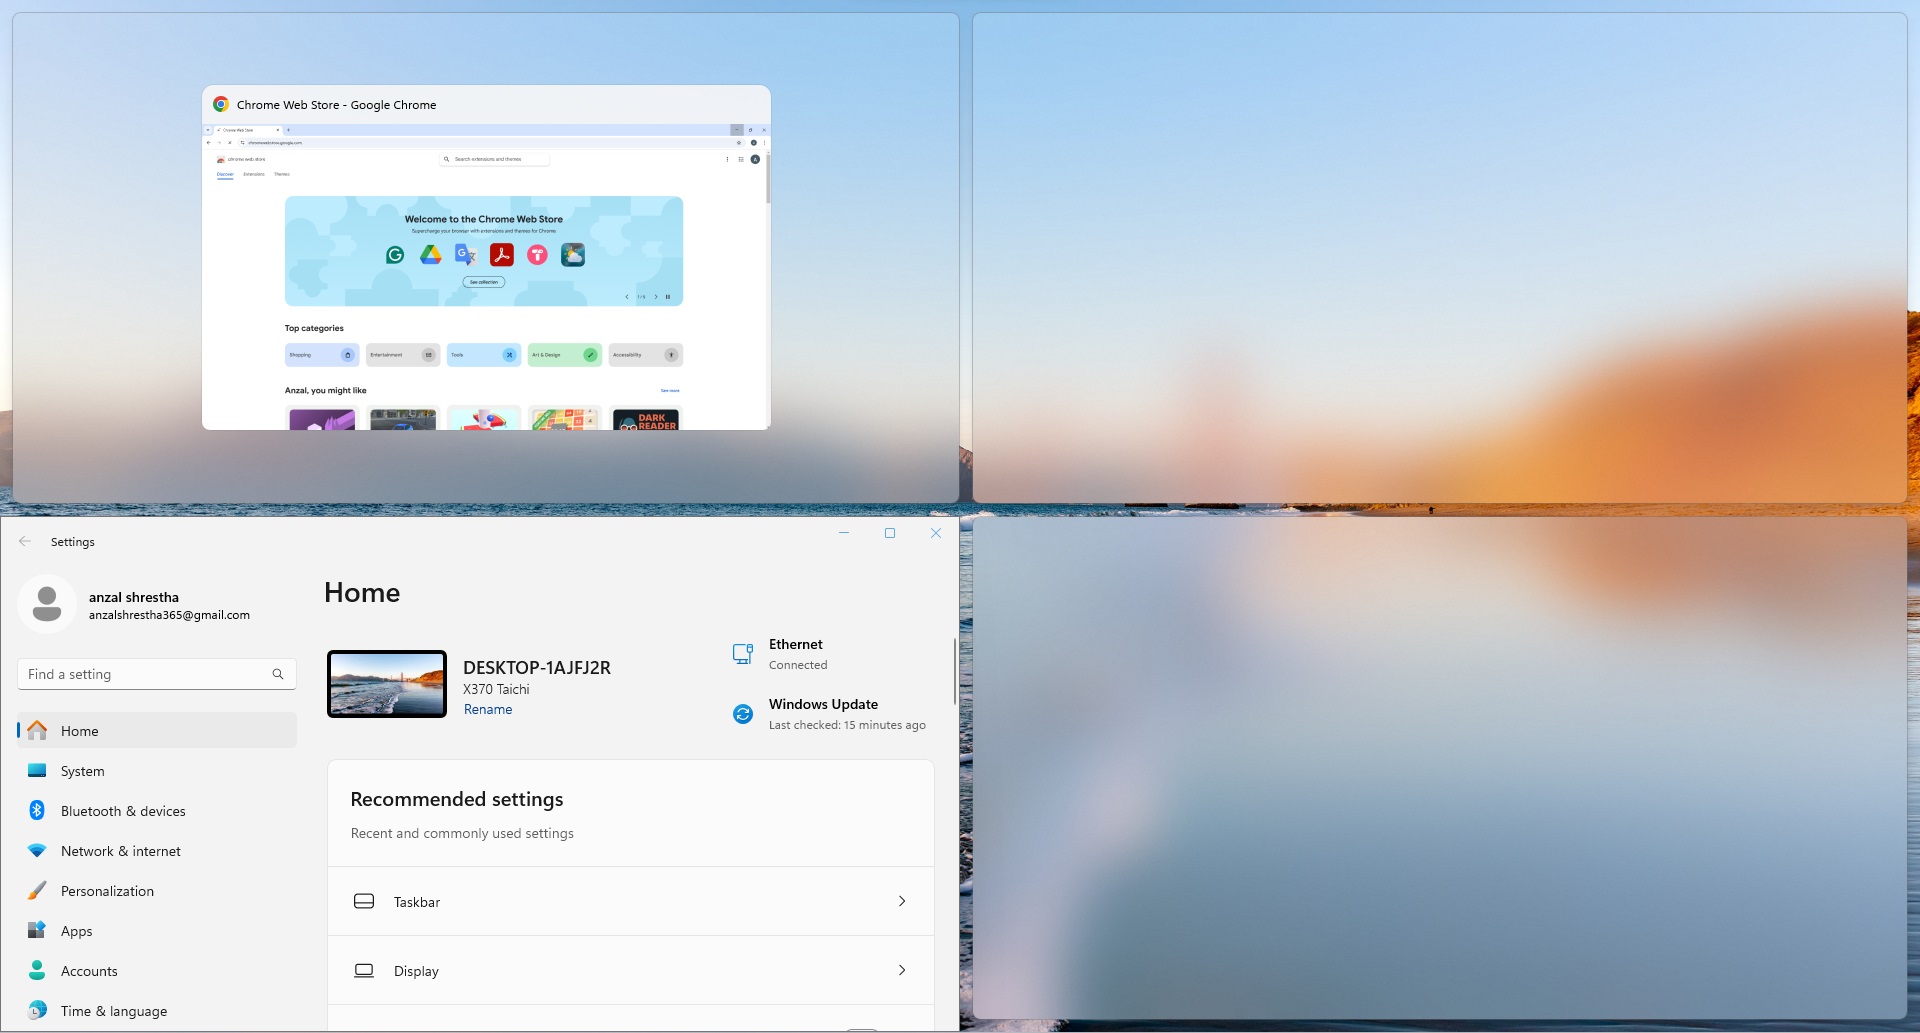
Windows 11 has split screen enabled by default, but it’s worth checking your settings to ensure everything is properly configured. Here’s how to check:
- Open Settings (Windows key + I)
- Click on System
- Select Multitasking from the sidebar
- Ensure “Snap windows” is toggled on

Method 1: Using Snap Layouts (Recommended)
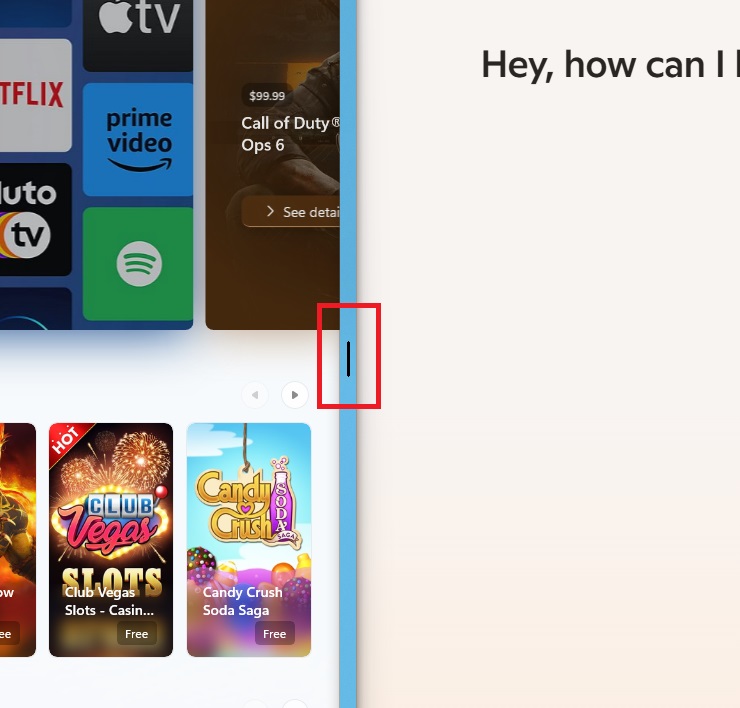
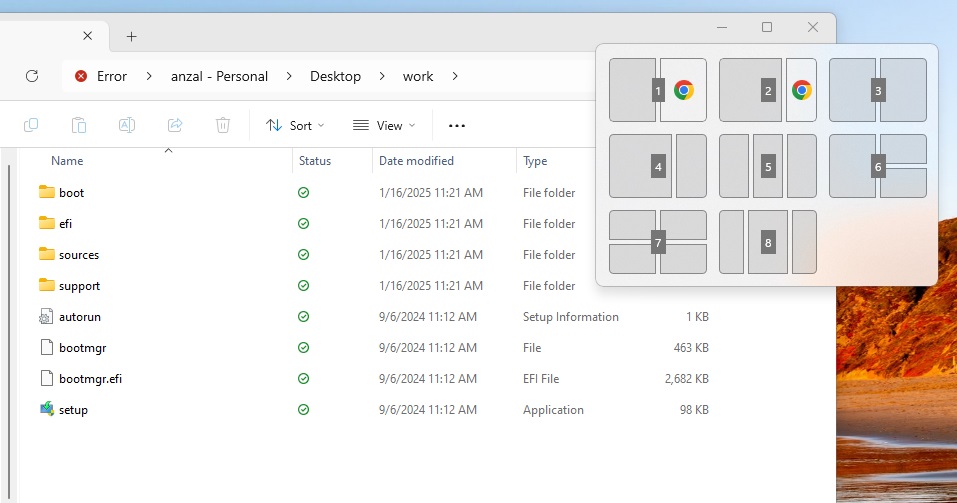
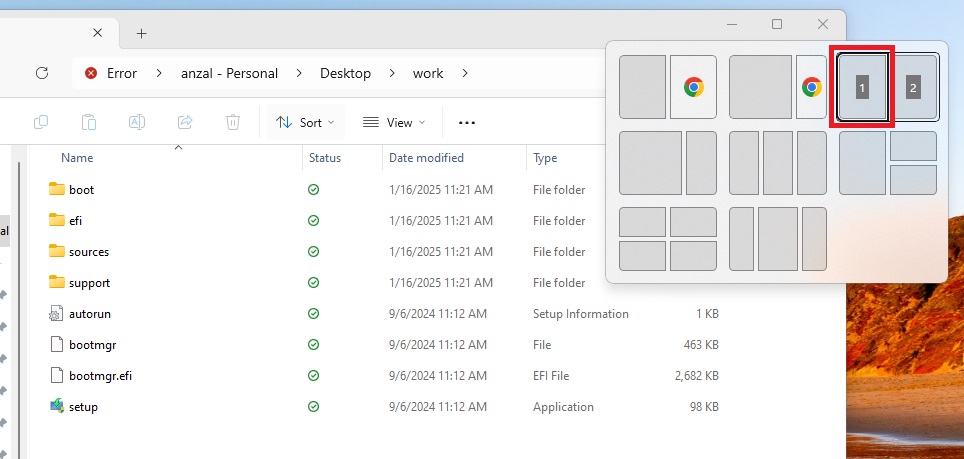
The easiest way to split your screen is using Windows 11’s Snap Layouts feature:
- Hover over the maximize button (square icon) of any window

- Choose from these layout options:

- 50-50 (two equal windows)
- 75-25 (one large, one small window)
- 33-33-33 (three equal windows)
- 50-25-25 (one large, two small windows)
- 25-50-25 (three windows with center focus)
- 25-25-25-25 (four equal windows)
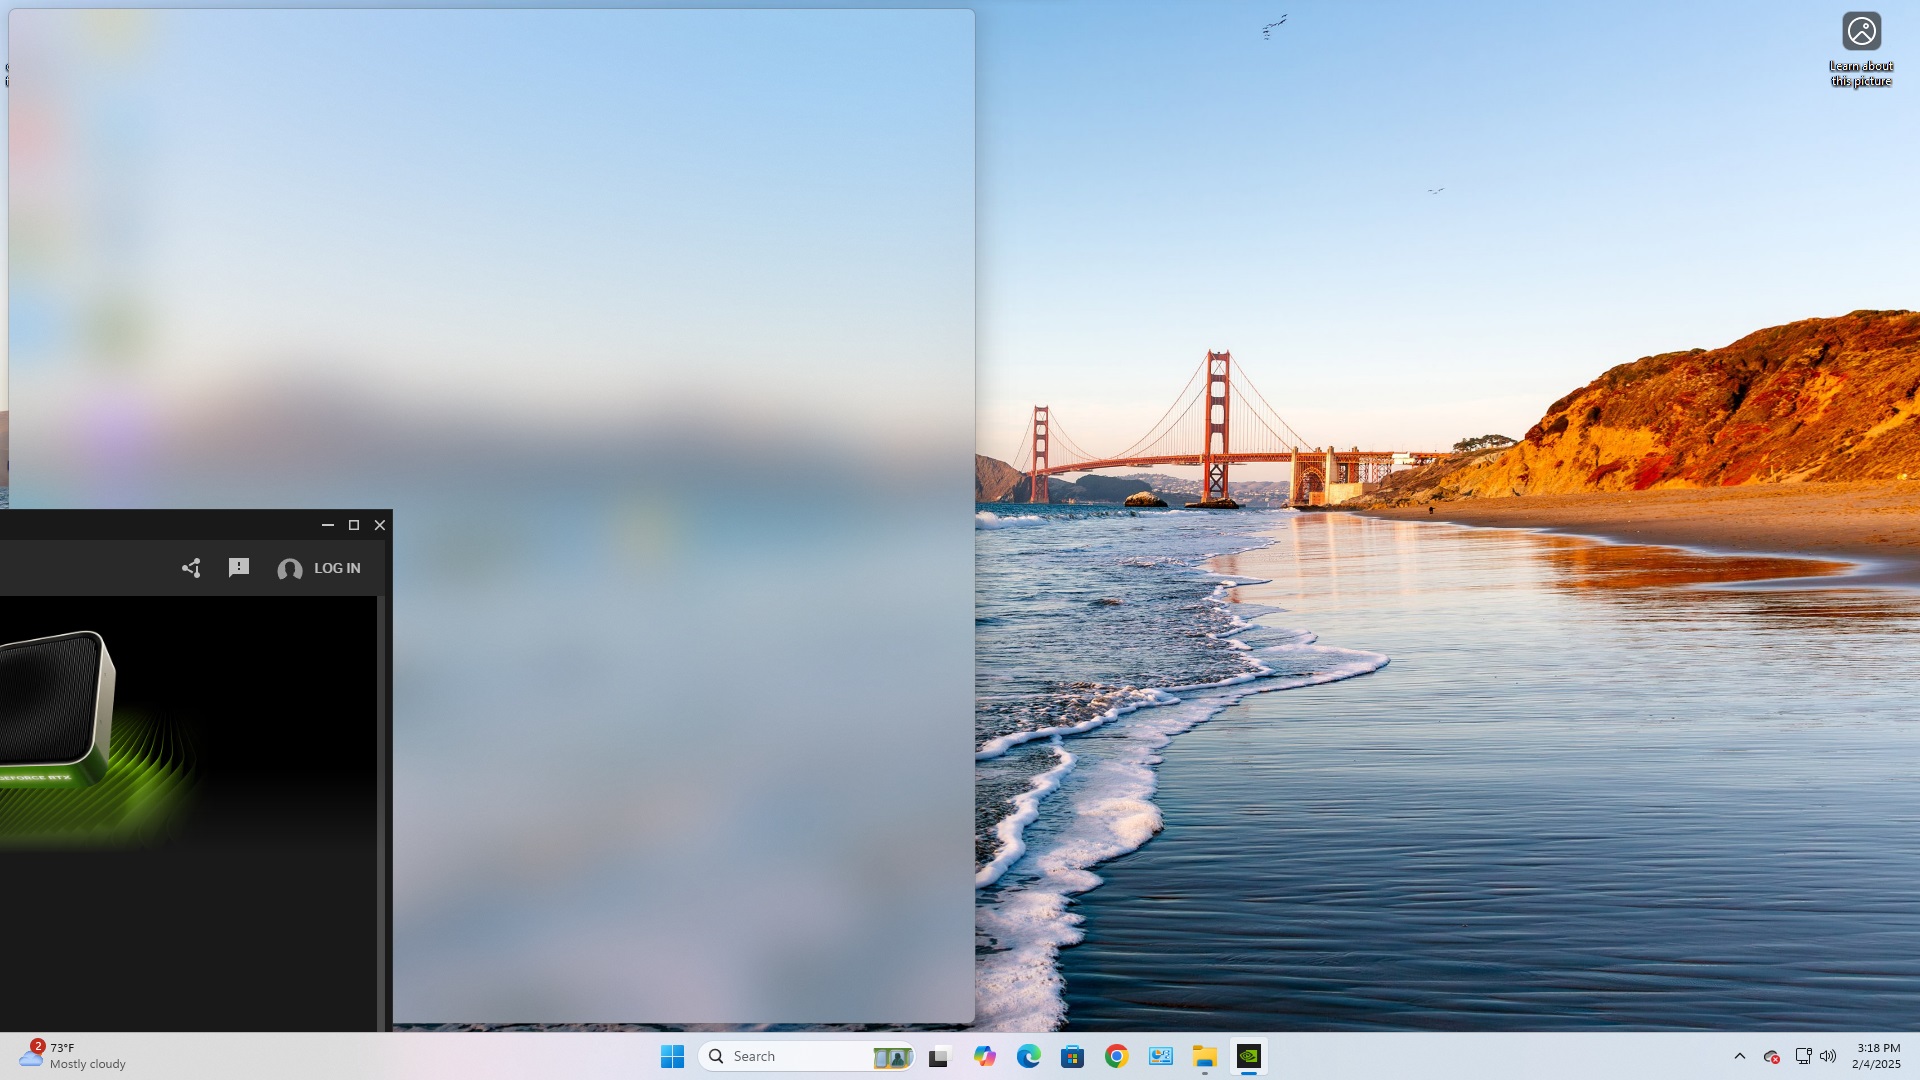
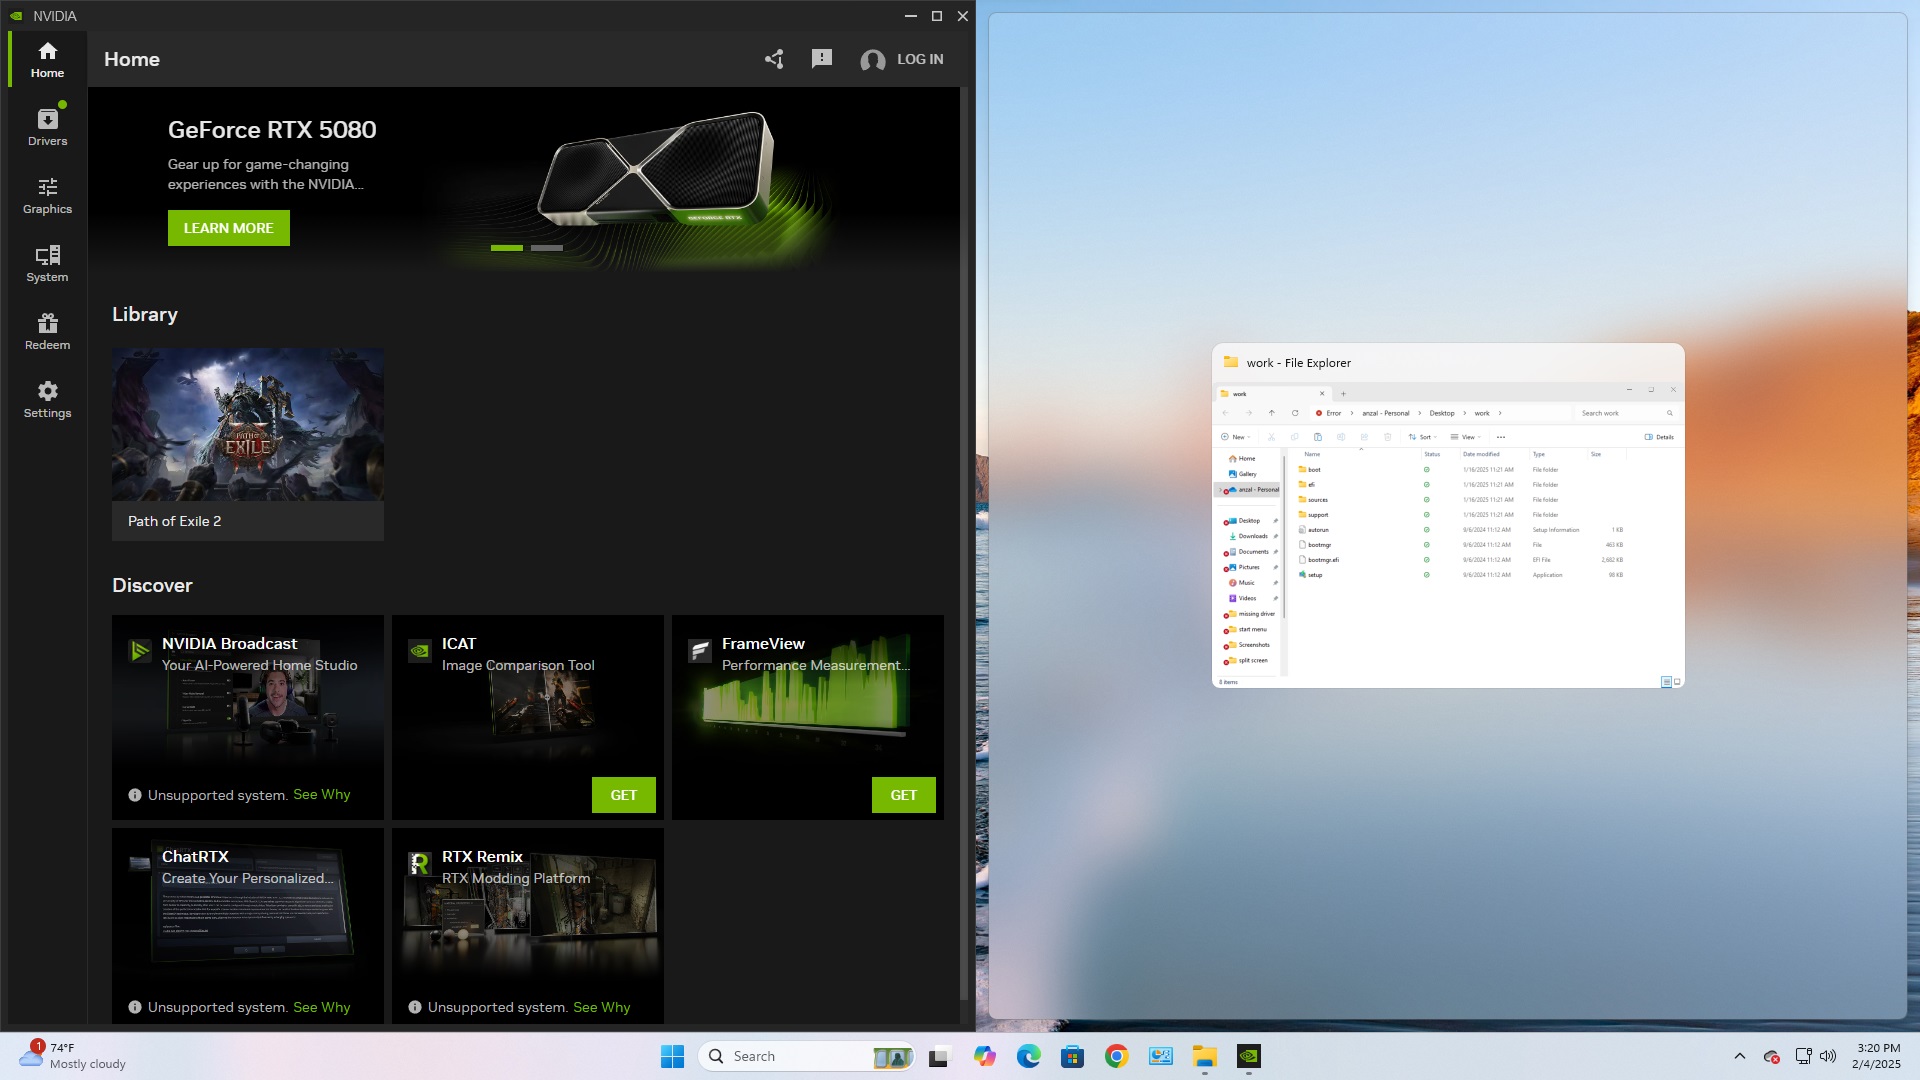
- Click the desired position for your current window

- Windows will display active apps to fill the remaining spaces
- Click the thumbnails to automatically snap them into position
- Customize your layout by hovering over window borders and dragging to resize


Method 2: Drag and Drop
You can manually arrange windows by dragging them:
- Click and hold a window’s title bar
- Drag it to the edge of your screen
- Wait for the snap layout overlay to appear
- Drop the window in your desired position
- Select other windows to fill remaining spaces
Method 3: Using Keyboard Shortcuts
For keyboard enthusiasts:
- Press Windows + Z to display snap layouts
- Each layout shows a number

- Press the number of your desired layout
- Press another number to choose the window position

Method 4: Advanced Snap Bar Method
For more precise control:
- Drag a window toward the top of your screen
- Hold until you see a shadow appear

- Continue dragging onto the shadow to reveal all snap layouts

- Drop the window in your preferred position

Windows 11’s split screen features offer flexible ways to organize your workspace. Each method serves different workflows and preferences. Experiment with these techniques to find what works best for you.