
Have you ever found yourself scrolling in the wrong direction on your Windows 11 device?
Whether you’re using a touchpad or a mouse, Windows 11 allows you to customize the scroll direction to fit your preferences.
This guide will help you adjust the scroll behavior and create a more intuitive experience.
What Is Reverse Scrolling?
Before we get into the steps, let’s clarify what reverse scrolling means:
- Traditional Scrolling: This behavior is the default setting. Where the content shifts downward as you scroll down the page. It’s the method most people are familiar with.
- Natural Scrolling: This method replicates the behavior of touchscreen devices. Here scrolling down causes the content to move upward, just like swiping on a phone or tablet. Many users prefer this, especially those accustomed to smartphones or Macs.
Changing the Touchpad Scroll Direction in Windows 11
While using laptop with a touchpad, adjusting the scroll direction is easy:
- Open Settings:
Press Windows + I or click the Start button and select Settings.

- Go to Bluetooth & Devices:
In the Settings menu, click on Bluetooth & Devices, then select Touchpad.
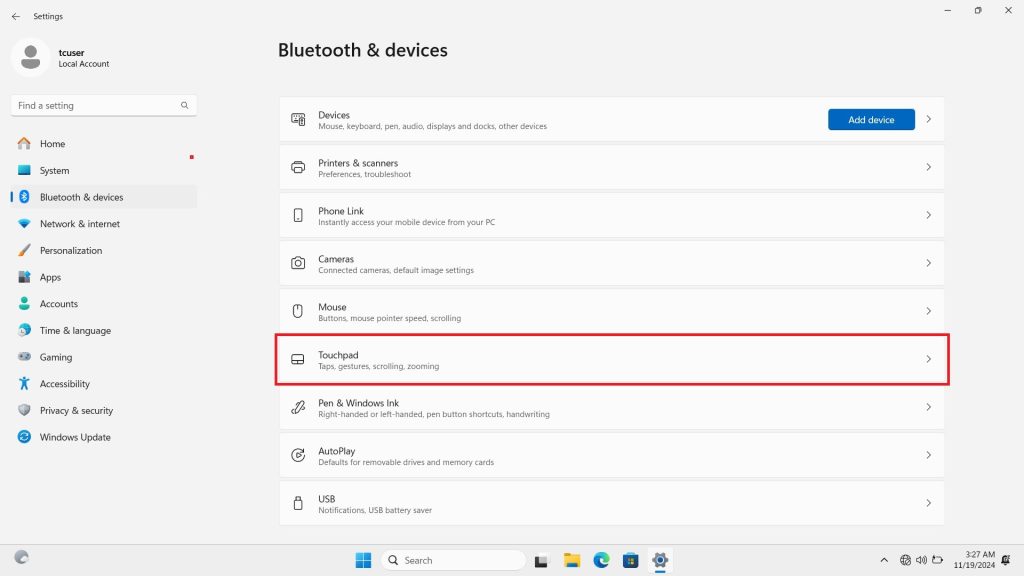
- Scroll & Zoom Settings:
Scroll down to the Gestures & Interaction section, then click Scroll & Zoom.
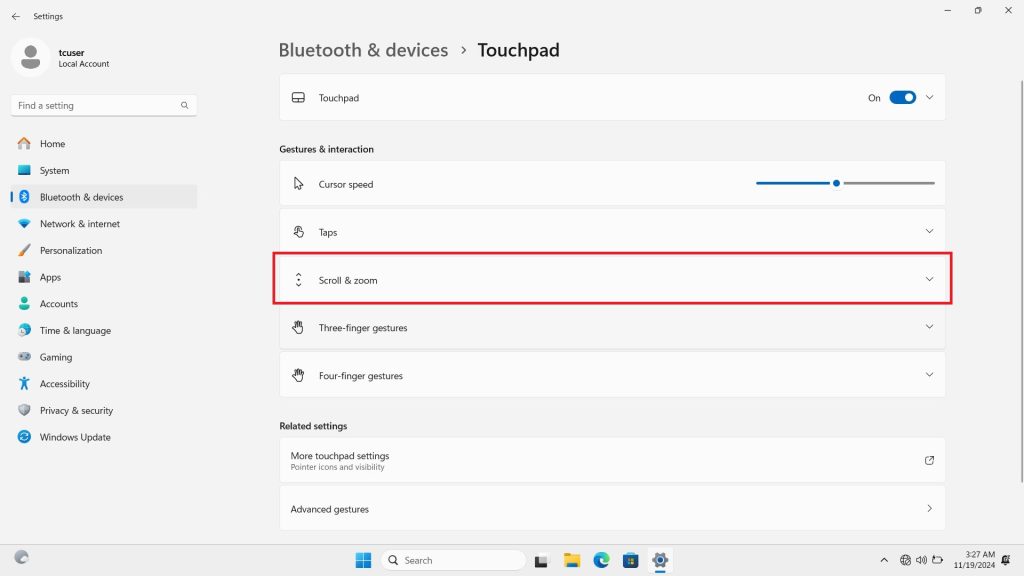
- Adjust the Scroll Direction:
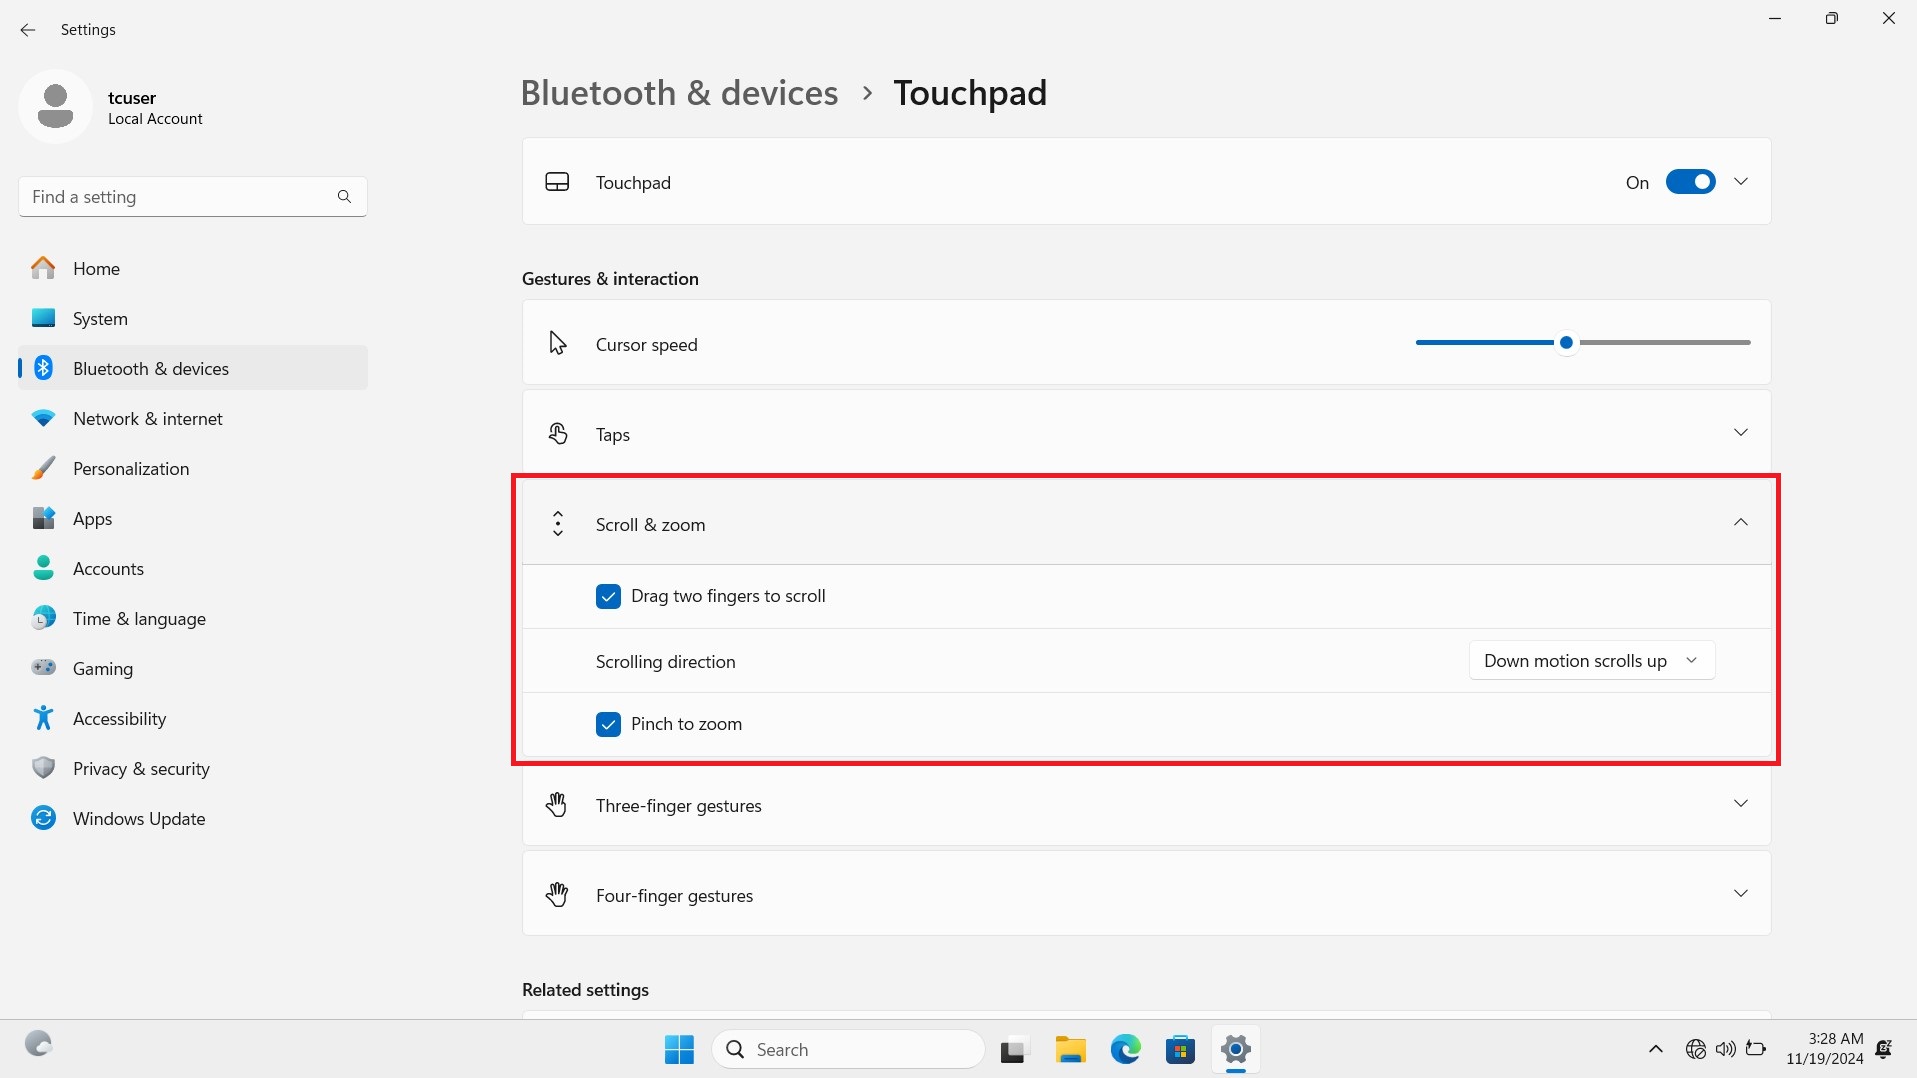
Scroll down to the Gestures & Interaction section and click Scroll & Zoom.
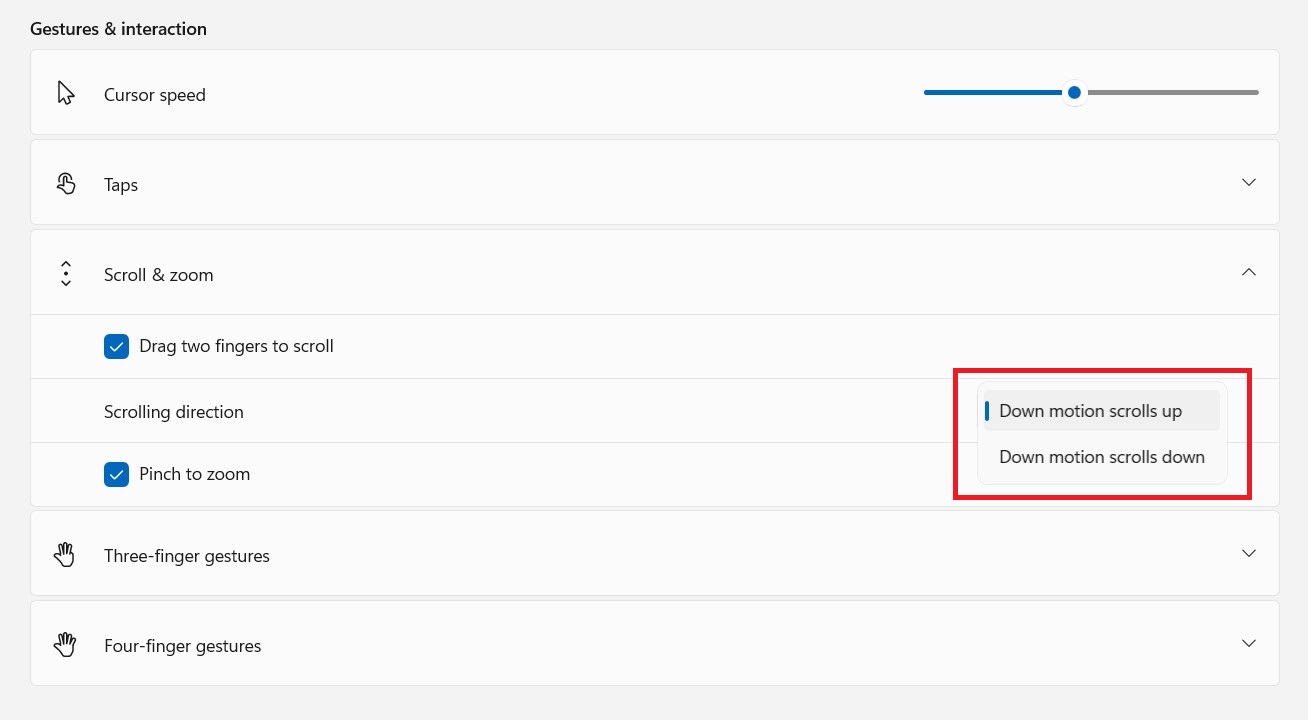
Under Scrolling direction, you’ll see a dropdown menu:
- For Natural Scrolling (content moves in the direction you swipe), select Down motion scrolls down.

- For Traditional Scrolling (content moves as expected), select Down motion scrolls up.
- For Natural Scrolling (content moves in the direction you swipe), select Down motion scrolls down.
- Done!
Your changes should take effect immediately. If not, restart your computer.
Reversing Mouse Scroll Direction in Windows 11
You can’t change the mouse scroll direction directly in Windows 11.
However, if you’re using a Canary Channel build, you might have this option. Still, there are several ways to modify it:
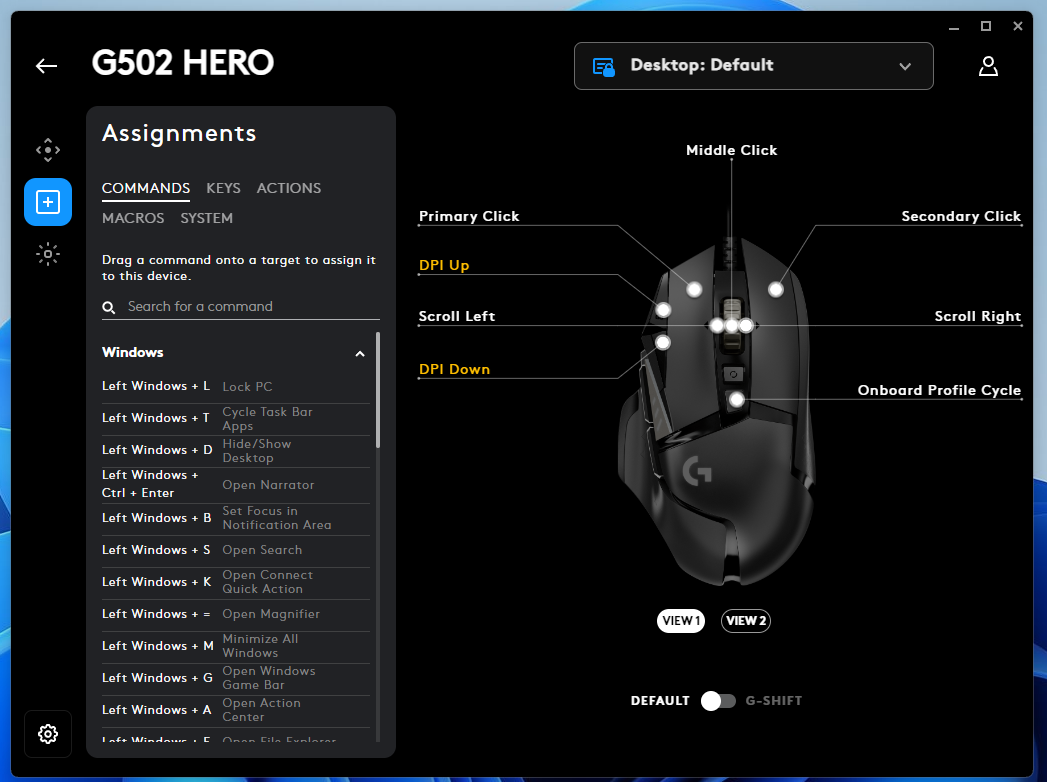
Option 1: Use Mouse Customization Software
Many modern mice come with software that lets you adjust the scroll direction.
For example, Logitech Options for Logitech mice or Razer Synapse for Razer mice.
- Download the Software:
Visit your mouse manufacturer’s website and download the appropriate software - Open the Software:
After installation, open the software and locate the scroll direction setting.
- Adjust the Scroll Direction:
Change the scroll direction to your preference, either reversing it or keeping it as is.
Option 2: Use Third-Party Tools
While your mouse doesn’t have customization software, third-party tools can help.
Two popular options are:
- X-Mouse Button Control (XMBC): A free tool that allows full customization of your mouse, including the scroll direction.
- WizMouse: A simpler tool that focuses specifically on scroll direction.
Here’s how to use these tools:
- Download and Install:
Go to the official website of X-Mouse or WizMouse, download, and install the software. - Adjust the Scroll Direction:
After installation, open the software and follow the on-screen instructions to change the scroll direction.
Option 3: Modify the Windows Registry (For Advanced Users)
For those who are comfortable with system settings, you can manually change the scroll direction by editing the Windows Registry.
Warning: This method is for advanced users. Incorrectly modifying the registry can cause system issues. Always back up your registry before making changes.
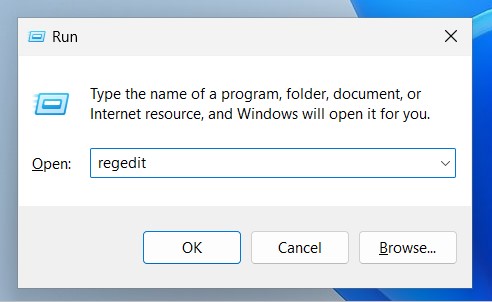
- Back Up the Registry:
Press Windows + R, type regedit, and hit Enter. In the Registry Editor, go to File > Export to save a backup.
- Find Your Mouse Device:
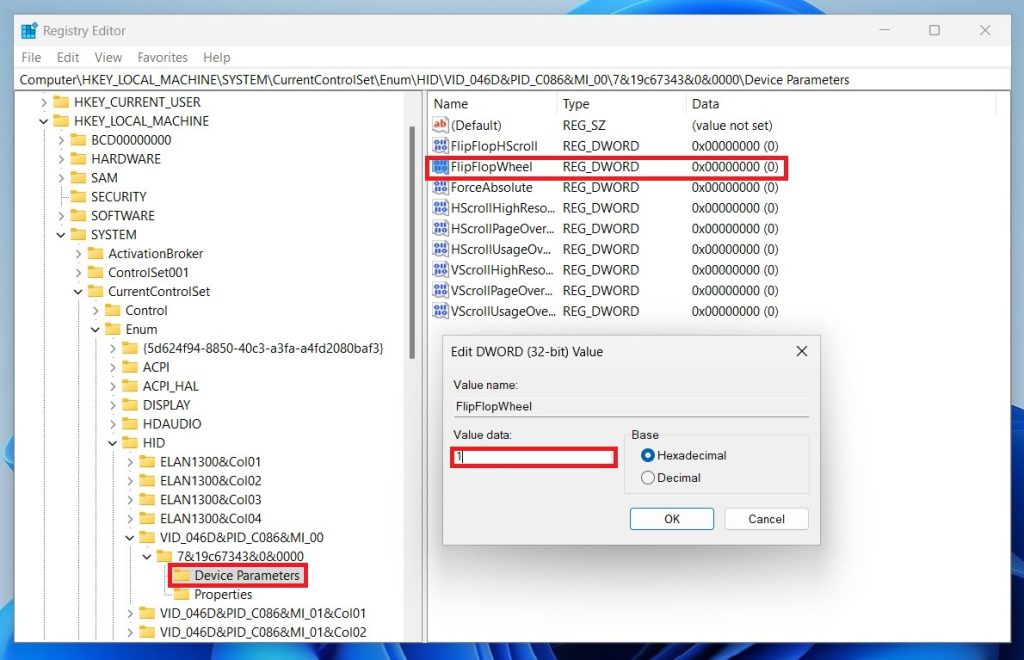
In the Registry Editor, navigate to:HKEY_LOCAL_MACHINE\SYSTEM\CurrentControlSet\Enum\HID.
Look for a folder that corresponds to your mouse (typically labeled with a VID_). - Change the FlipFlopWheel Value:
Inside your mouse folder, go to Device Parameters and find FlipFlopWheel.
Double-click it and change its value from 0 (traditional) to 1 (natural), or vice versa.
- Restart Your PC:
Restart your computer for the changes to take effect.
Conclusion
Changing the scrolling direction in Windows 11 can significantly improve your system’s usability. Whether you prefer the traditional method or want to try natural scrolling, Windows 11 offers an easy way to adjust the direction to fit your needs.
Which scrolling method do you prefer—traditional or natural? Let me know in the comments below, and happy scrolling!